Testing, testing, .. out road.
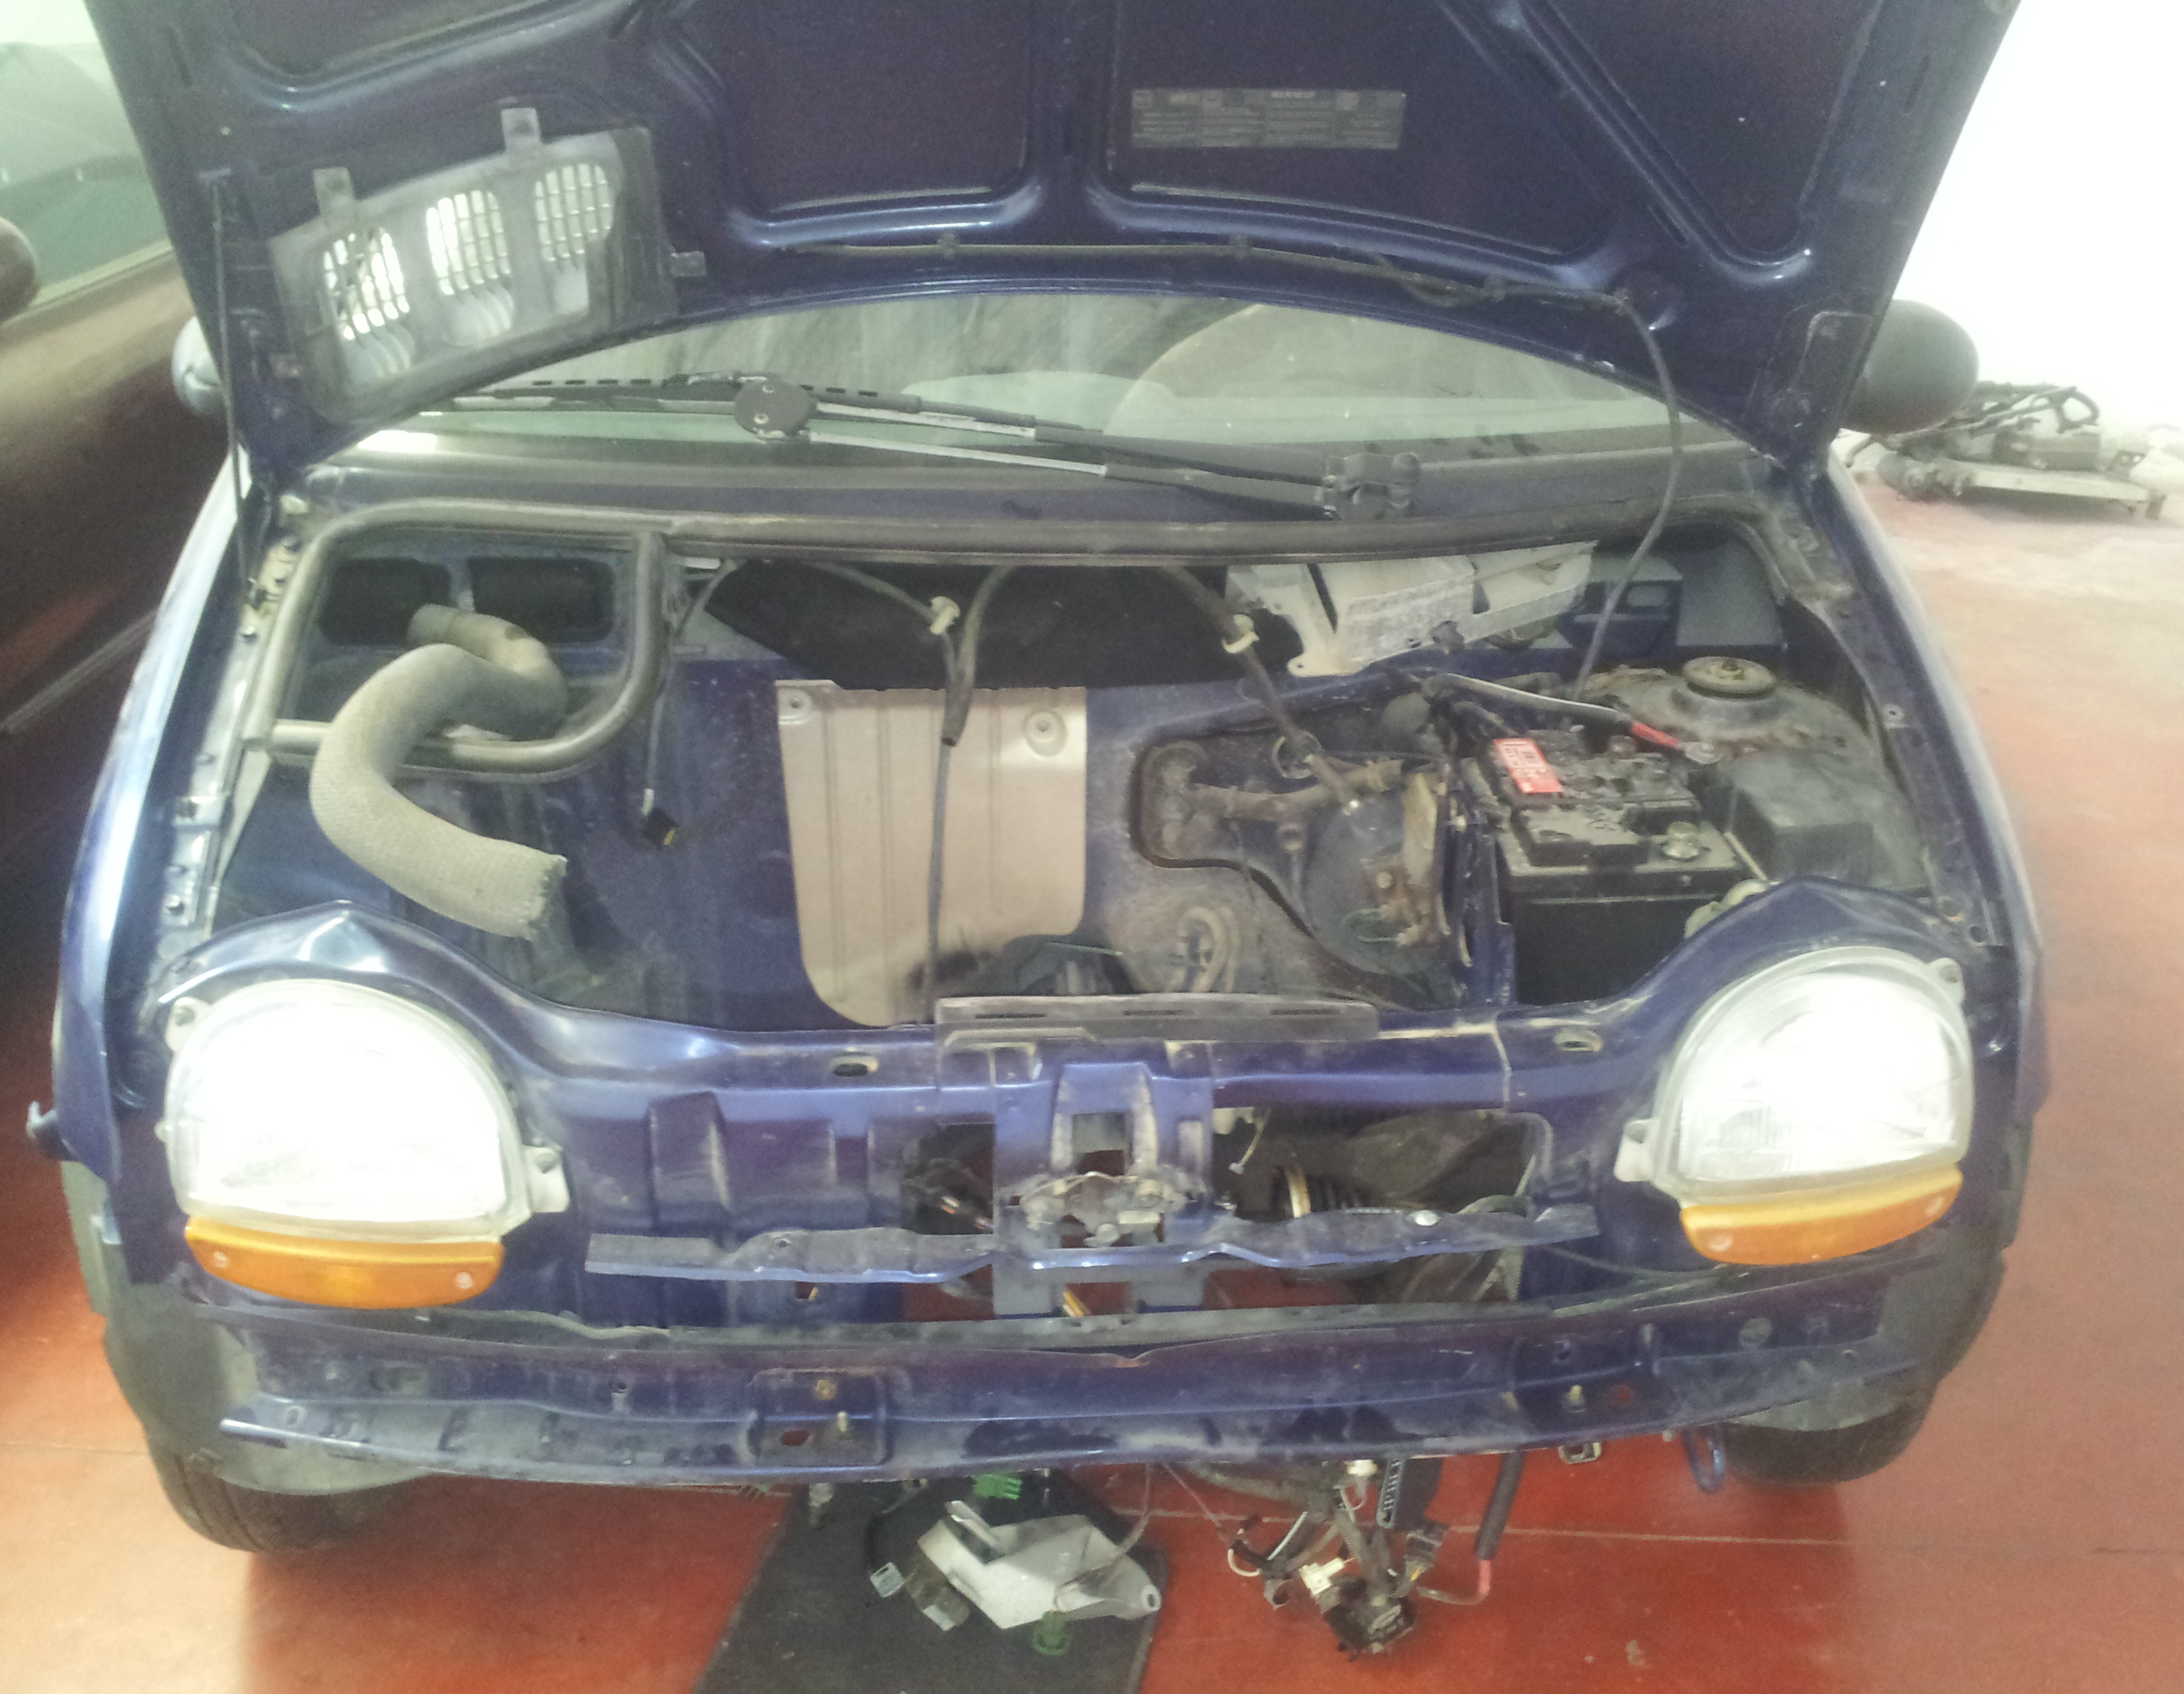 The conversion of a petrol or diesel vehicle is the most sustainable and economical way of driving a perfect electric car. The main idea behind this, is to re-use all the vehicle´s components that have no impact in the internal combustion engine, and to substitute it with a full electric motor. Engine, radiator, petrol tank, exhaust tubes, alternator, etc will be removed, reducing the car´s weight. By having a chassis with all the necessary parts for driving, as interior, brakes, tyres, shock absorbers, etc, all effort is reduced to install and design an electric system with a motor and batteries.
 It is very important to choose a good design for the electric system, electric motor, battery pack and motor controller should have the same specifications in power and speed to the ones the car when it was originally designed. Too much power could damage the traction components or may not respond as well to breaking, and too little could cause the gears no to acquire the adequate speed.
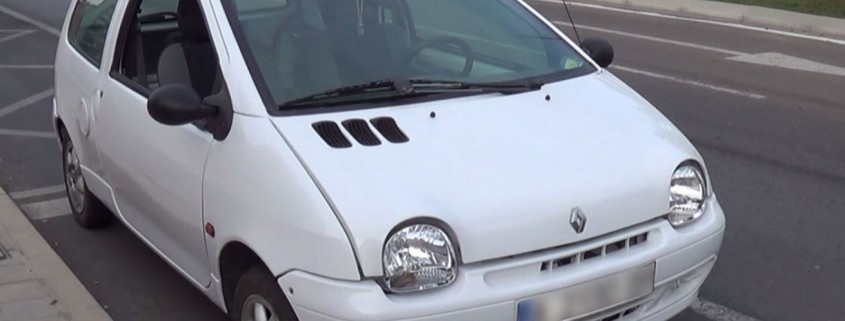
Elektrun is a project that was born two years ago to probe the concept of transforming a city car to electric, ideal for short trips within the city. We have chosen a Renault Twingo to build a prototype, it is a vehicle with little weight and a reduced size, and after two years of design, test and experiments we have made it work.
 The main issue for this kind of transformation is the range the batteries will achieve. Now days there are cars that can drive 700kms in one single charge, in order to achieve that, it needs at least between 70Kw and 80Kw. Our prototype comes with a 7,4Kw.
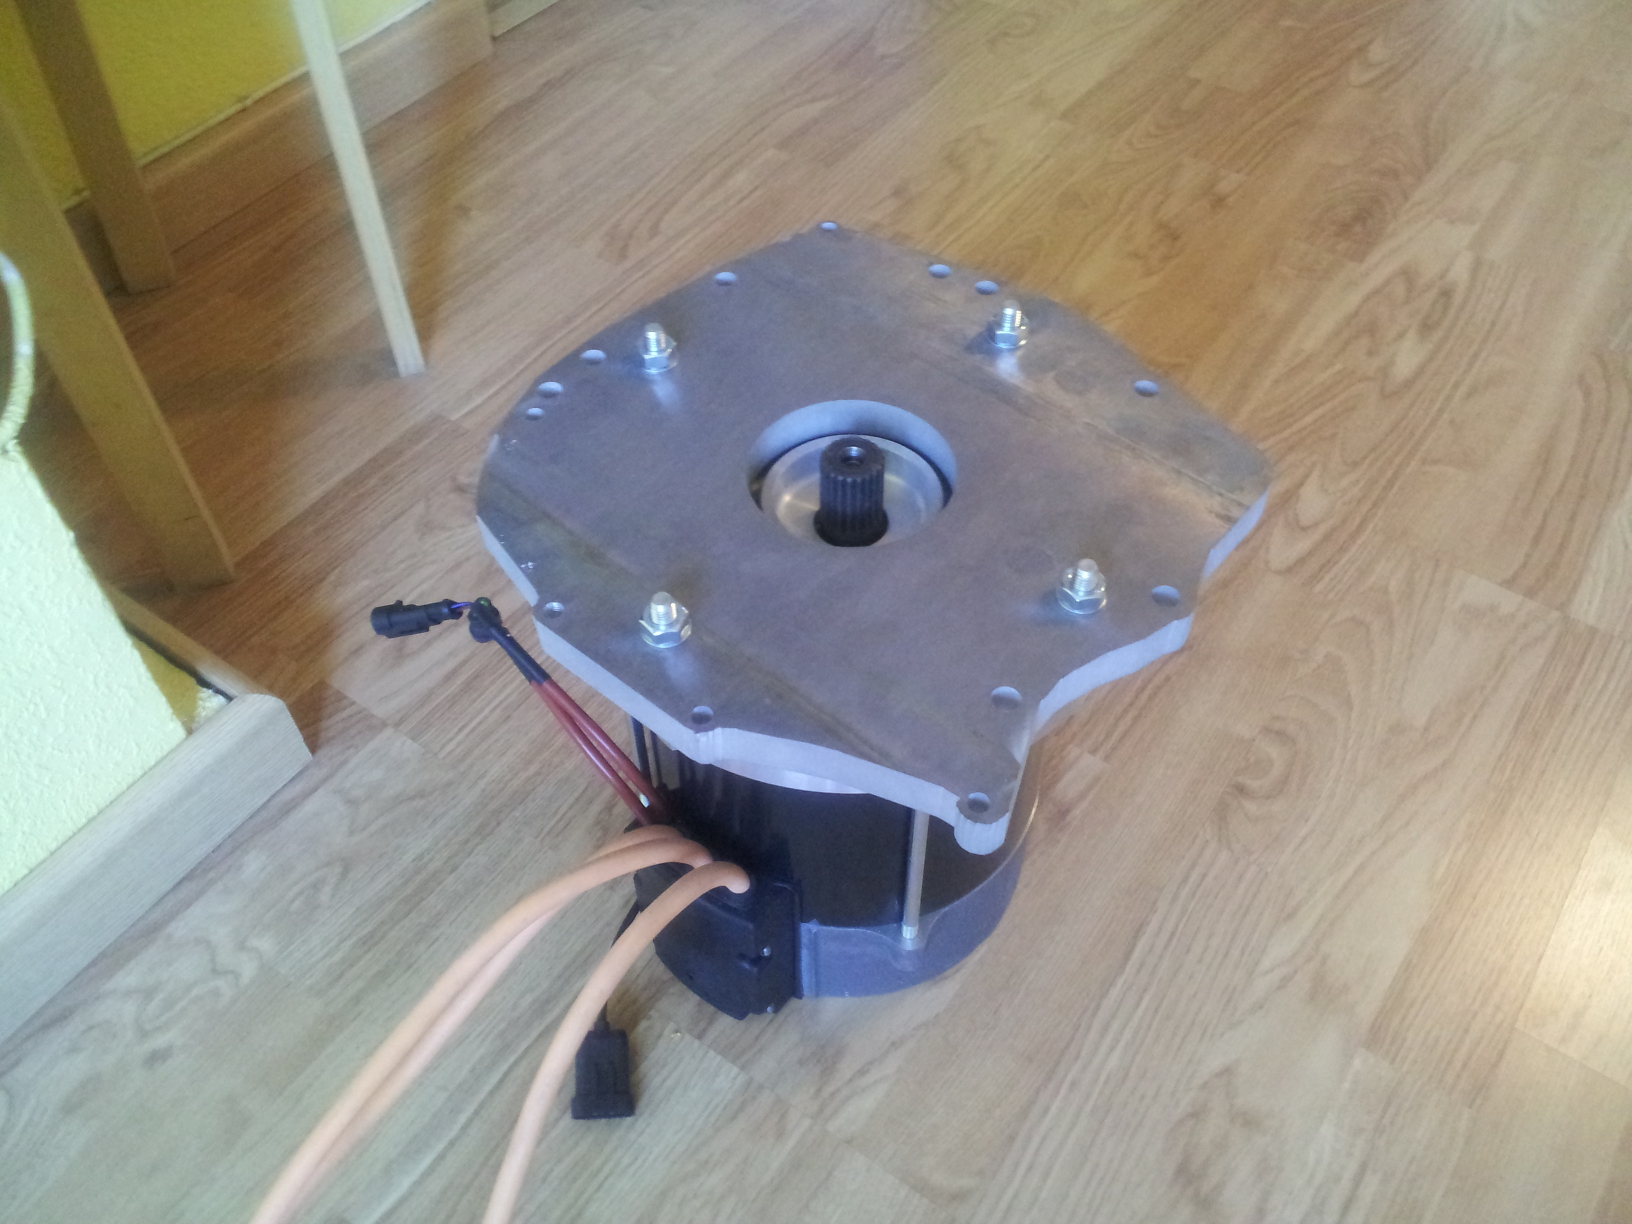
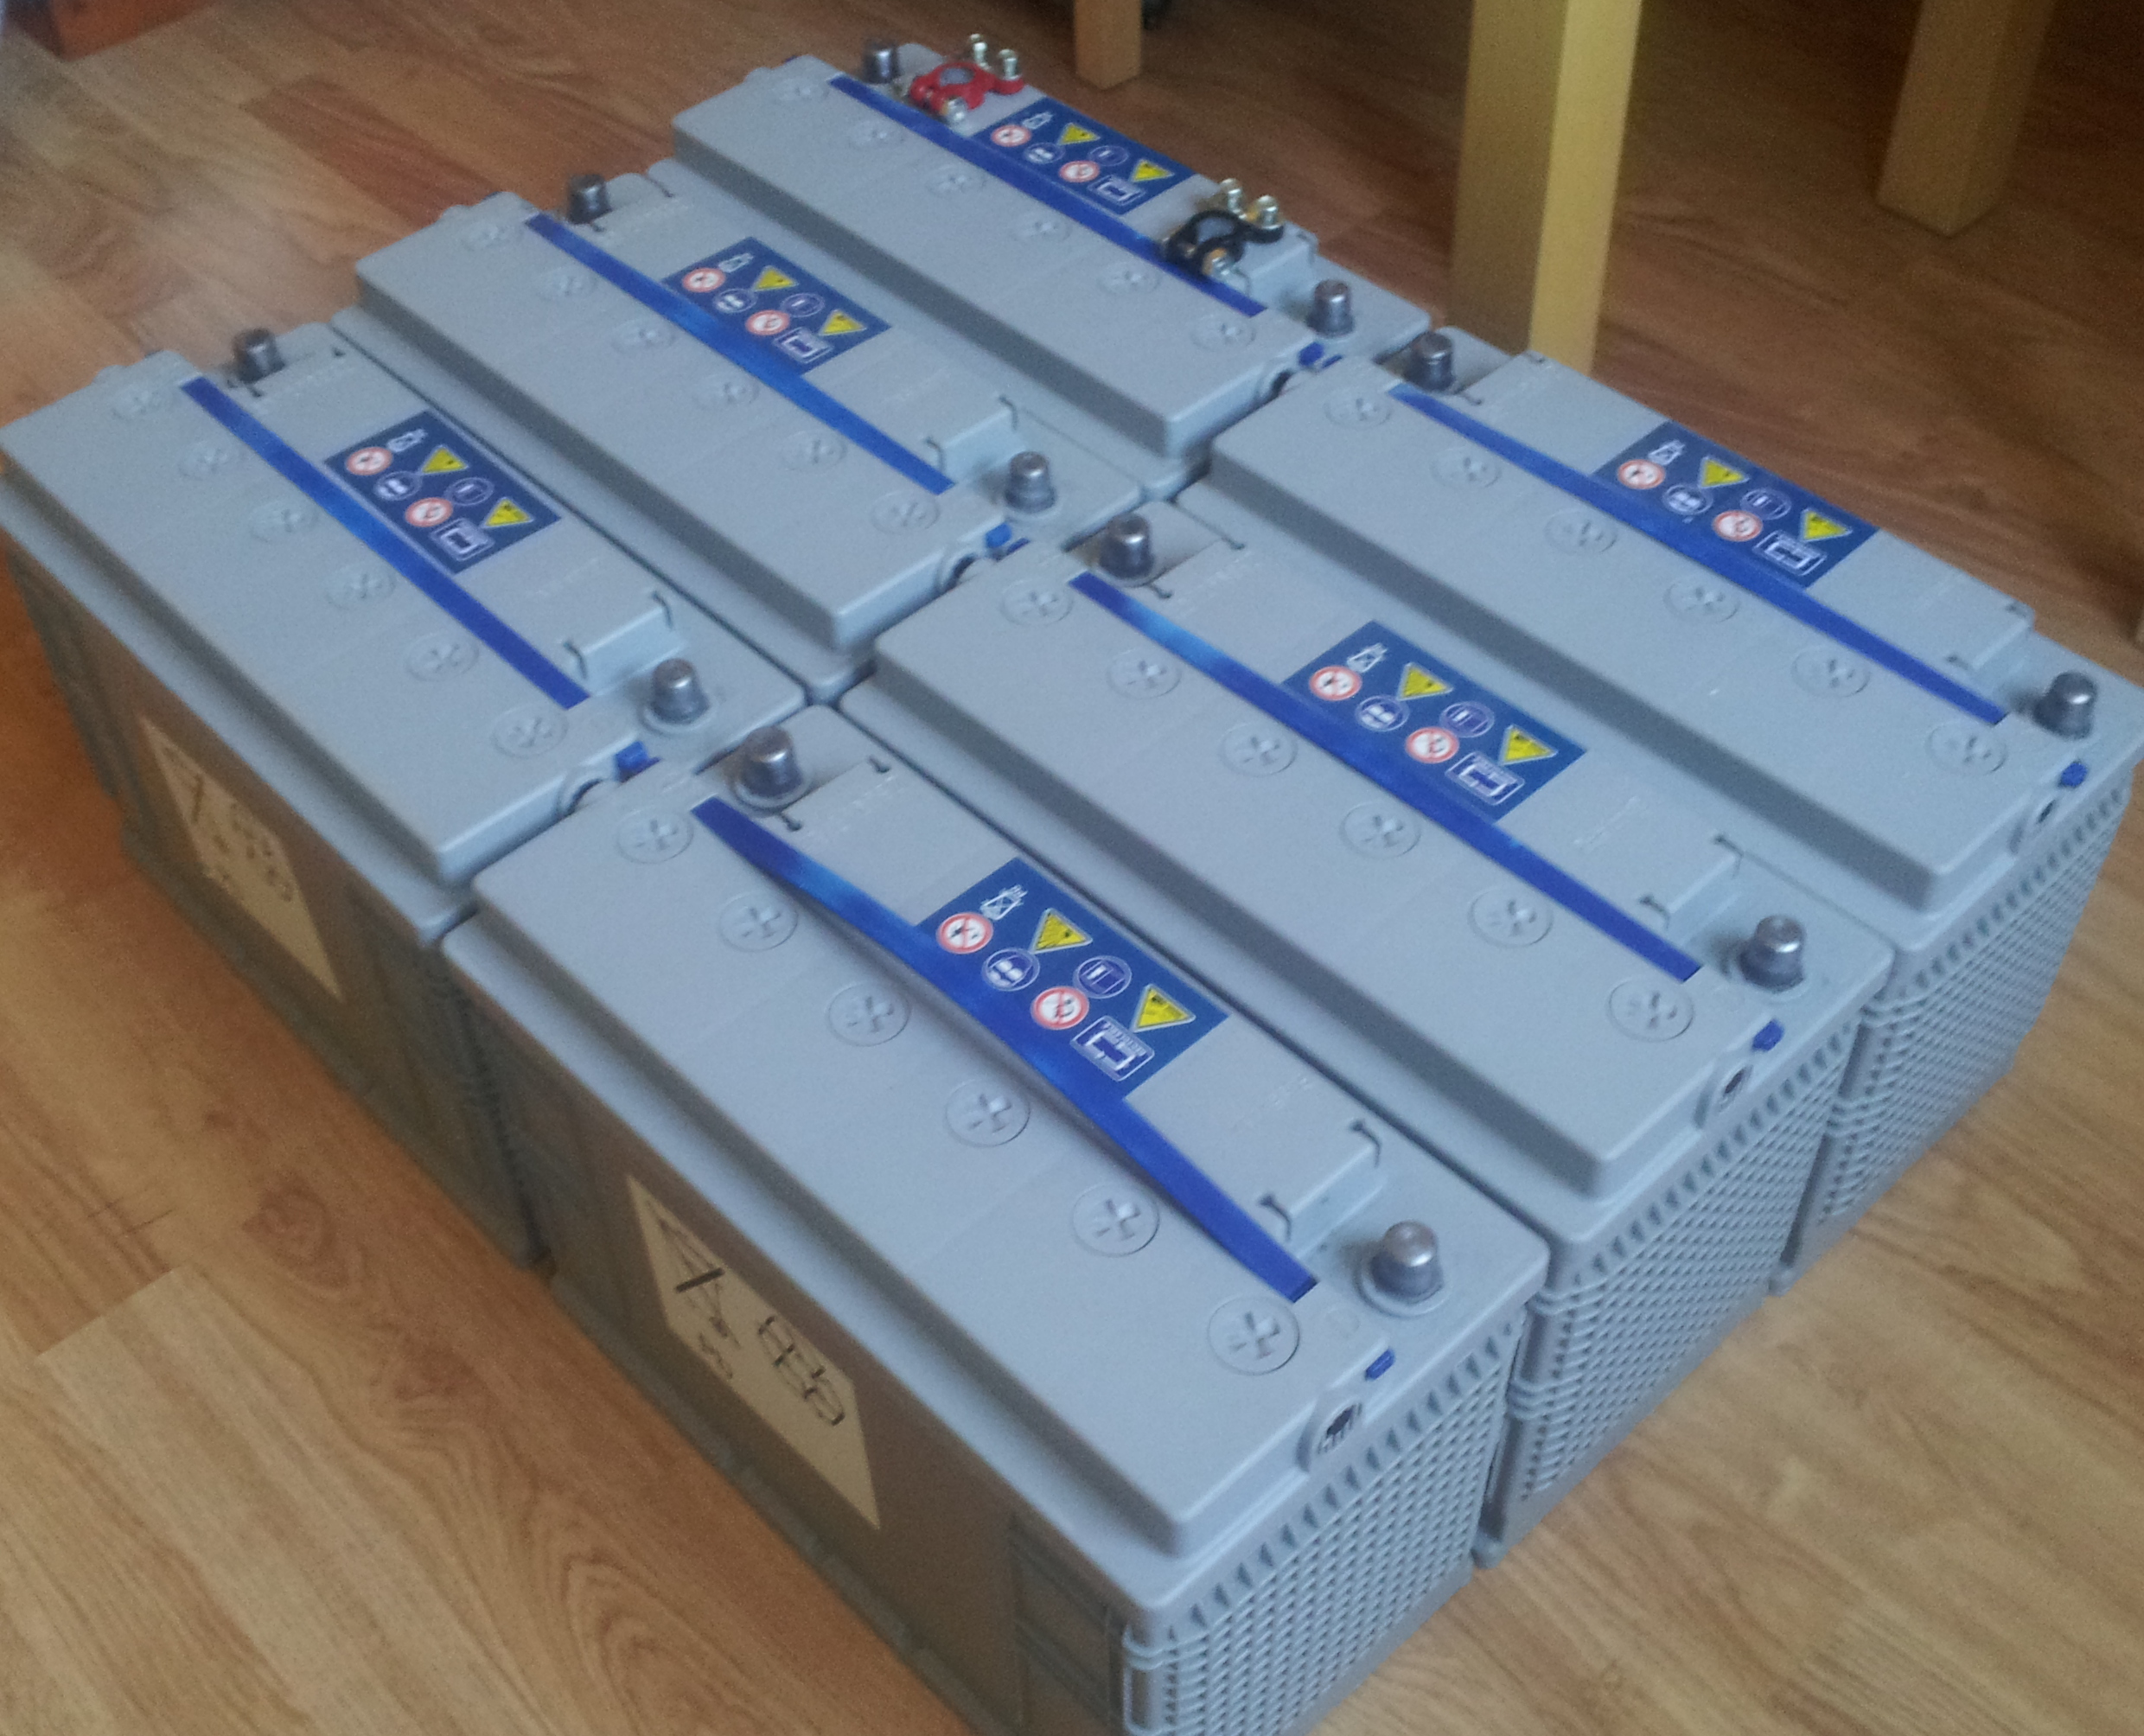
 This prototype has an 15KW AC induction motor with a maximum torque of 80Nm, a battery pack of 72V and 100Ah, it has an 80V and 350Amp controller. This can speed the car to 90km/h in 5th gear.
The first tests shown the total weight didn’t affect at all in corners, the shock absorbers responded well as expected, and by removing the engine noise the driving was much more comfortable.
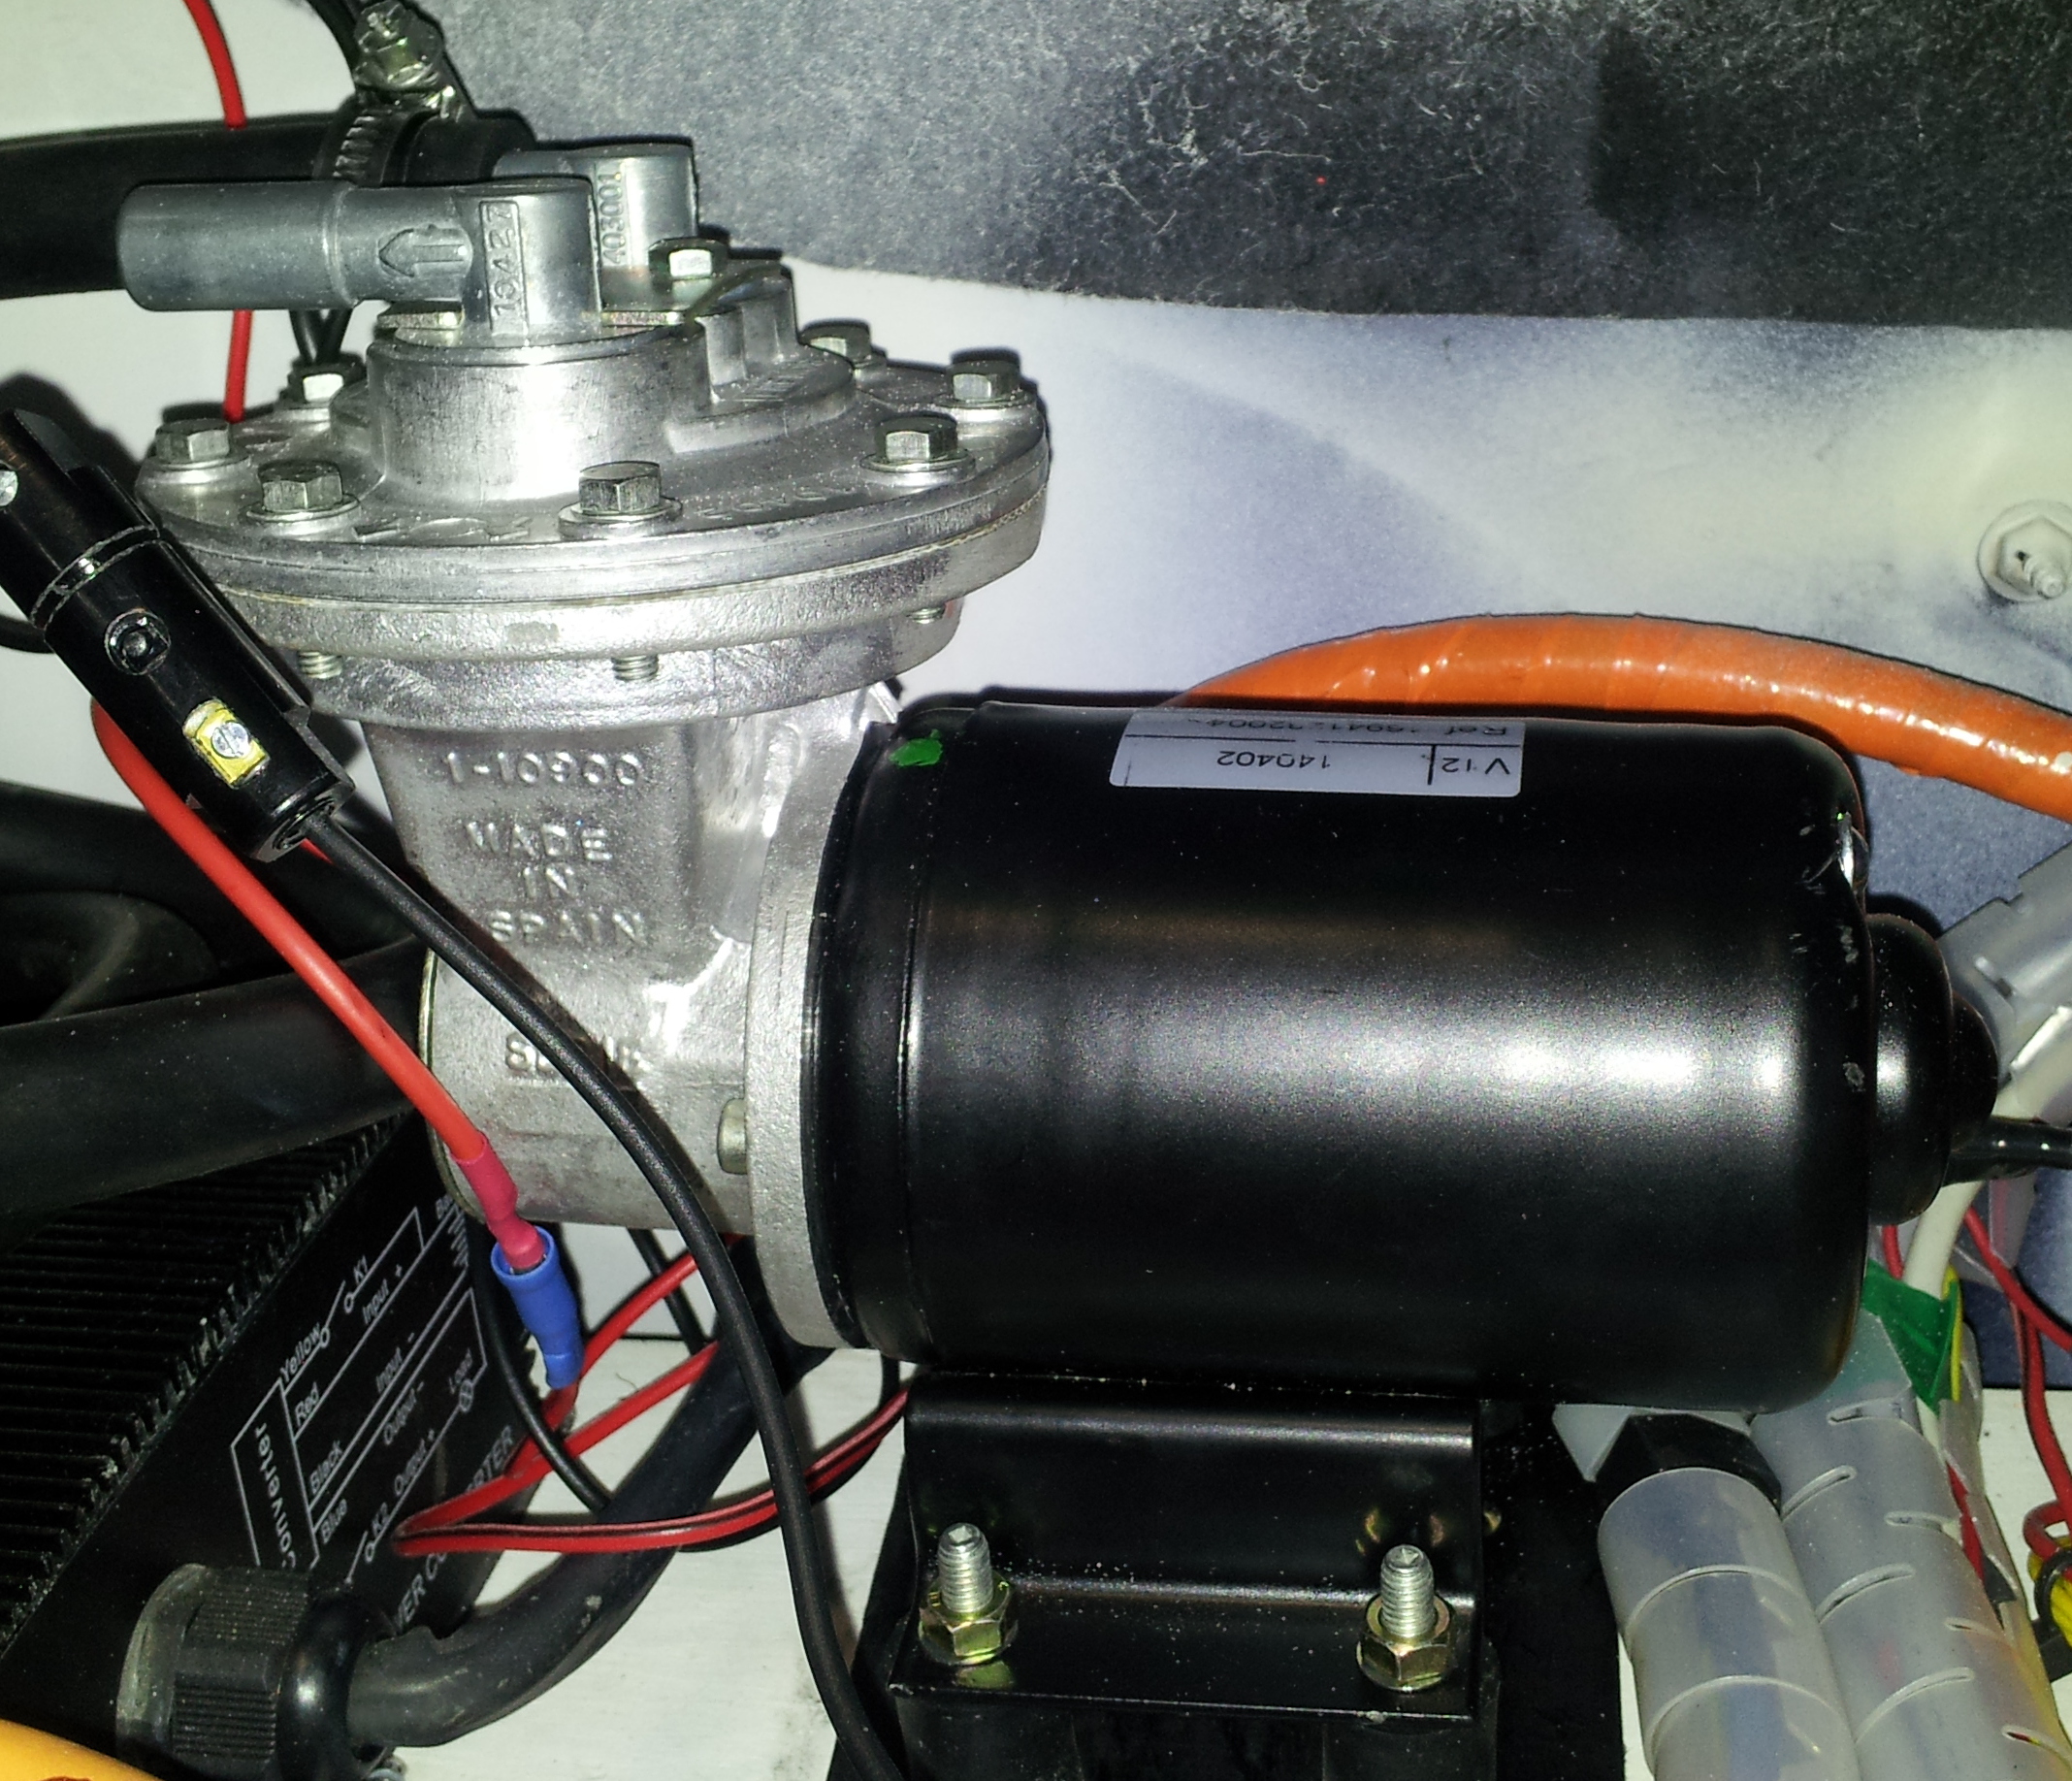 An additional vacuum pump was installed to help the braking system. The braking was also performing very well as, it responded to hard braking and kept the car stopped in steep ramps.
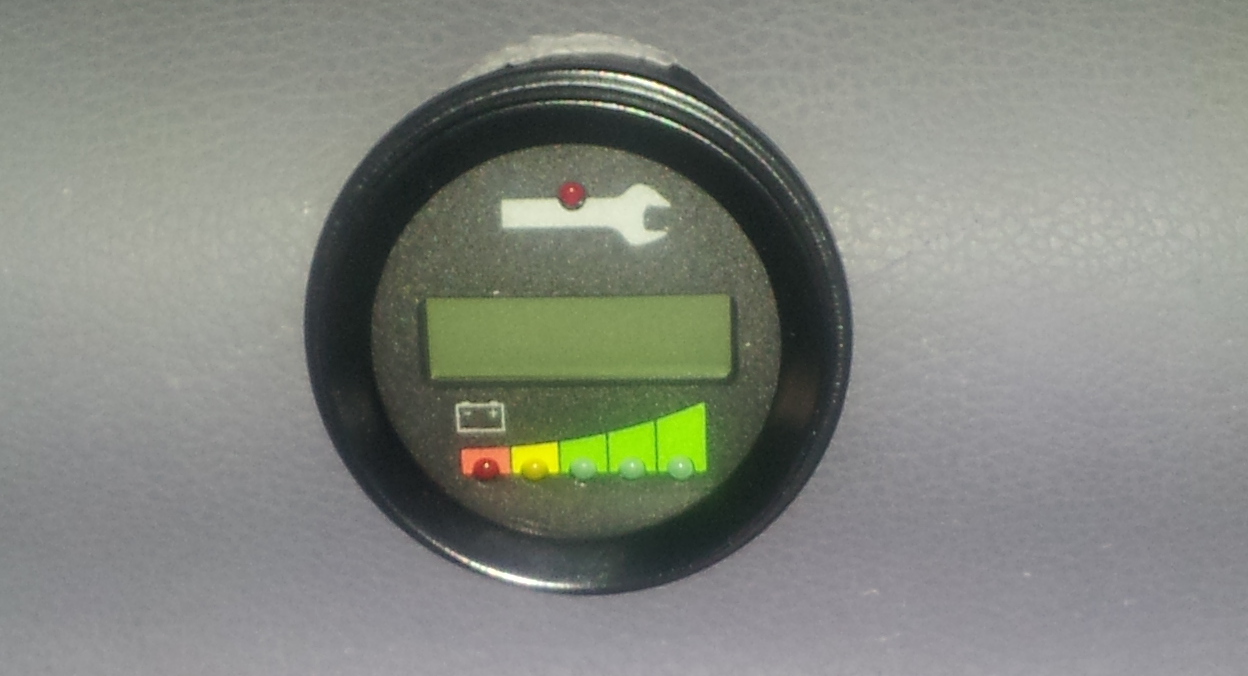 A small display was installed in the interior to monitor, at any time, battery usage, current, motor temperature, state of charge, etc.
 Lights and interior accessories as electric windows, radio, air flow, window cleaner, etc were kept in the car.
This car takes 8 hours to fully charge the battery pack, although there are chargers that could reduce this time from 6 to 4 hours.
You can see a video about the first tests here: